
"Being a full-time mother is one of the highest salaried jobs in my field, since the payment is pure love." ~Mildred B. Vermont
Here are a few DIY projects that everyone can make for their Mothers Day Gift. The best part about it is that it is afordable and cute!
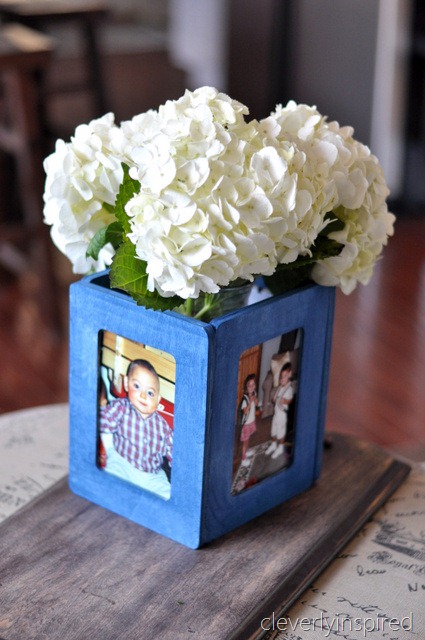
Photo Vase DIY

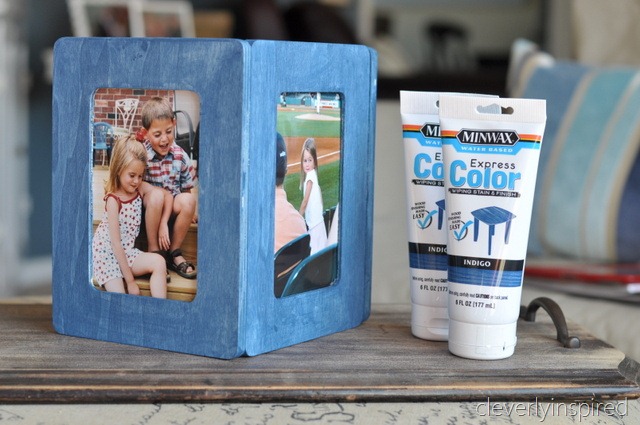
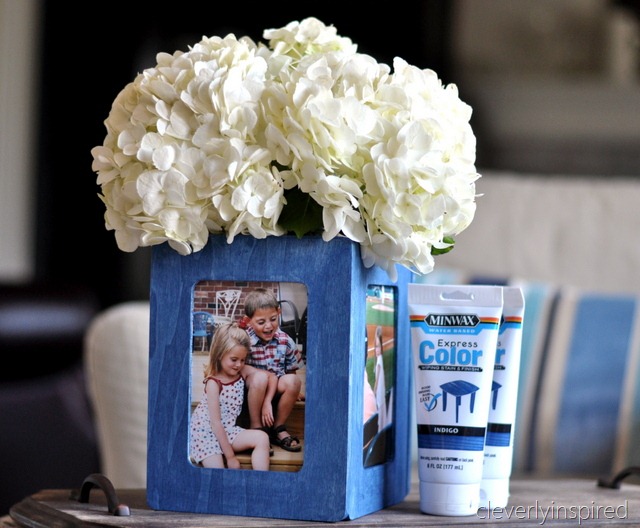
They will have several colors to chose from…just pick your favorite! I found the product to be easy to work with and quick. I love a quick transformation. A few bare wood picture frames and some wood glue is all you will need….here we go…
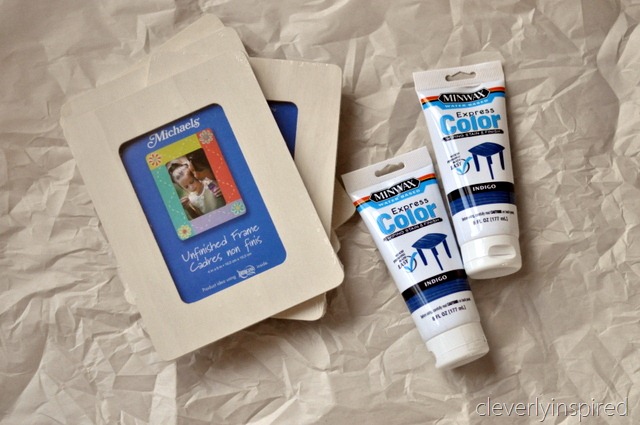

A soft cloth, rubber gloves and a work surface you don’t mind getting messy is helpful. Squirt your Color Express out and dip your cloth in the stain. Rub onto the wood…wiping off the excess. What I love about this product is the ability to have a rich color…but yet still see the grain of the wood. I found it to be smooth and even too. It is water-based…so easy cleanup! The stain also dry’s quickly. I only did one coat…but you could do a few to make the color more intense.
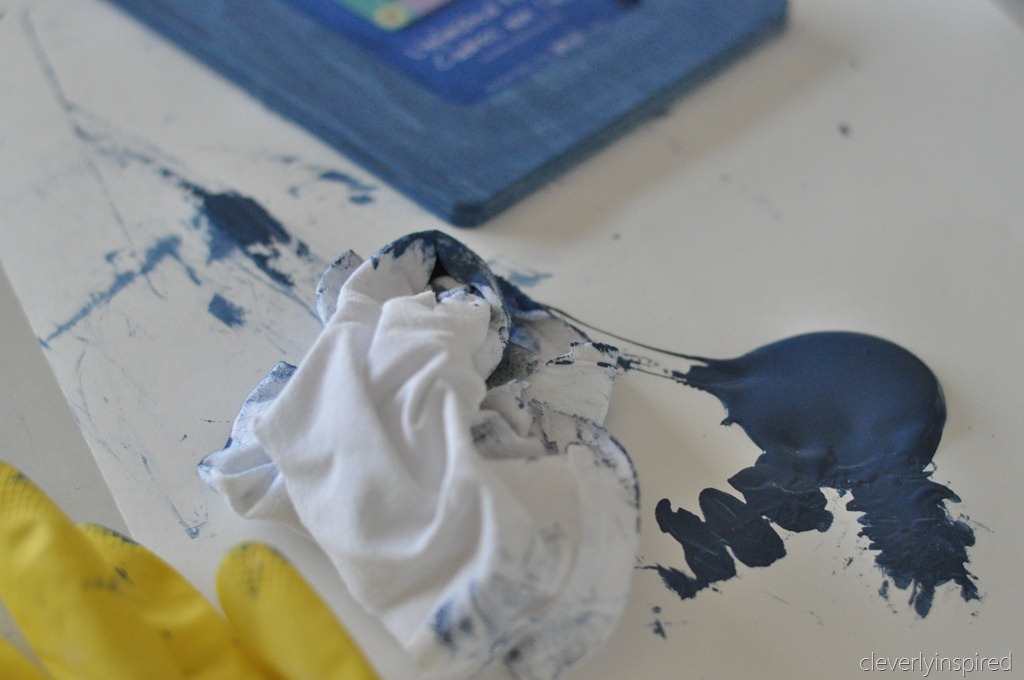
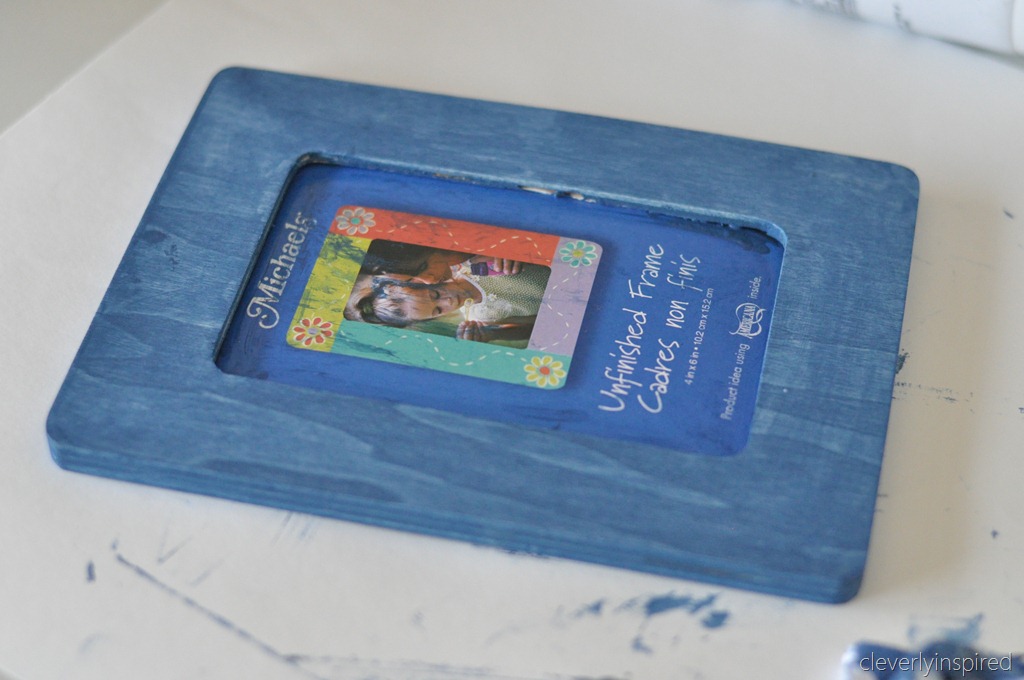
When the 4 frames are dry you can glue them together. A thin bead of wood glue does the trick.
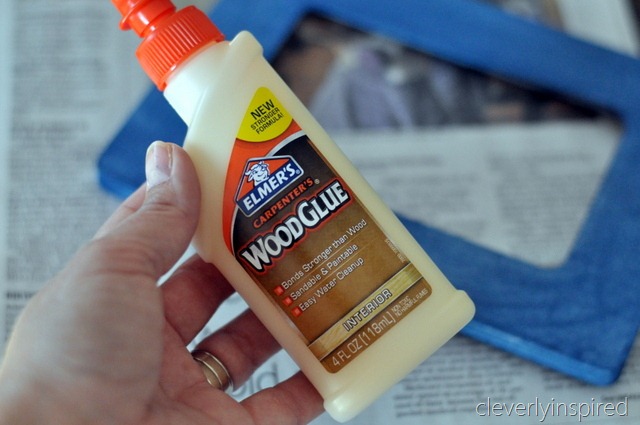
I stood mine up on newspaper and allowed it to dry. You can touch up any spots you may have missed with a sponge brush.
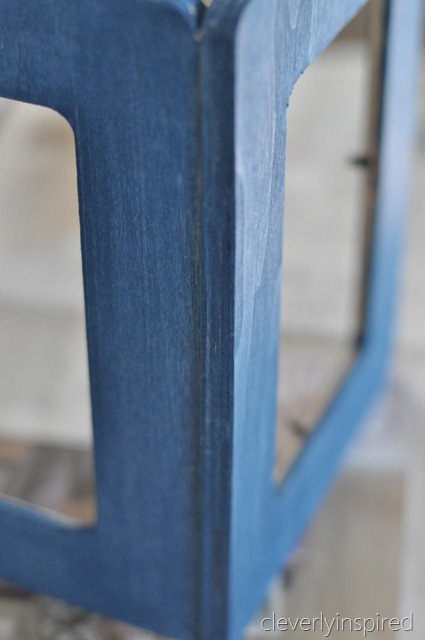
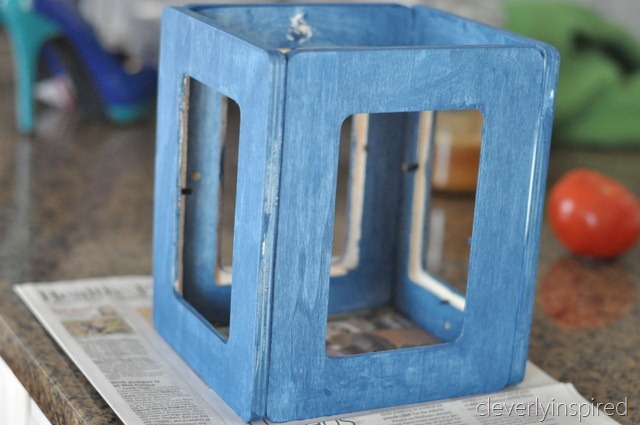
I picked out four pictures (from past summers…oh their little faces…sigh…) and popped them in the frames.
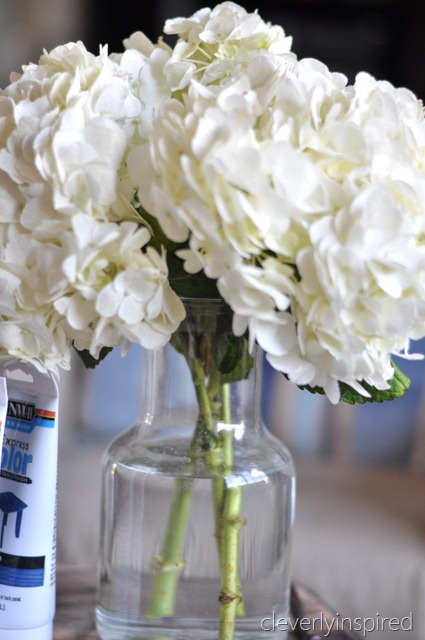
A favorite flower in a glass jar or vase…can be placed in the center.
http://cleverlyinspired.com/2012/05/diy-photo-vase-sponsored-by-minwax-express-colors/
Easy Candle Upcycle
Do you have candles that look like this? If the answer is yes then you can do something with
your candles that are so creative.
 This was such an easy project to do. I can't believe I never did this before.
 All I needed to get were these wicks from Michael's and one new glass container. I decided to get a new glass container because it was only $1 and I needed something clean to pour the first candle in. Then you can start cleaning out the old ones and reusing those glass jars.
Step 1: Melt your first candle down completely. I put mine in a pot of boiling water. It only took about 5 minutes for the candle to turn to liquid.
Step 2: Place the new candle wick in your clean jar. I wrapped it around a popsicle stick so it wouldn't fall over.
Step 3: Pour melted wax into new jar. Let cool completely.
 Step 4: Once the first layer of wax was completely hard, I melted the next candle down on the stove and poured it over the first layer. Repeat with one more layer or until your glass container is full.
 Step 5: Cut the wick. Burn and enjoy your new candle!!

Step 1: Melt your first candle down completely. I put mine in a pot of boiling water. It only took about 5 minutes for the candle to turn to liquid.
Step 2: Place the new candle wick in your clean jar. I wrapped it around a popsicle stick so it wouldn't fall over.
Step 3: Pour melted wax into new jar. Let cool completely.


Hope you all enjoy!
-Denea Duran


