Content Credit: http://sarahpotterphotography.com/diy-menu-board
Friday, June 7, 2013
Fun Friday: Rainy Day Projects
Content Credit: http://sarahpotterphotography.com/diy-menu-board
Friday, January 25, 2013
Fun Friday
1 box Brownie Mix
eggs & oil (as called for by the brownie mix)
1 heaping half cup (6 oz) Cookies & Cream ice cream
1/4 Cup hot fudge topping (chilled or room temp)
Preheat oven & spray an 8×8 baking dish generously with cooking spray. Combine brownie mix, eggs, and oil as directed on the back of the box, but do not add the water. Add ice cream and hot fudge to the brownie batter and stir to combine. Pour half of the brownie batter into the baking dish, layer with Oreos, then top with remaining batter. Bake for 40-50 minutes or as directed on the back of the box.
Read more at http://www.kevinandamanda.com/recipes/dessert/cookies-n-cream-oreo-fudge-brownies.html#ixzz2J03YRsL7
How neat is this? I think I am going to try this D.I.Y project out! Great little gift just to give to friends!
Have a great weekend! And bundle up in this weather. . . .
-Denea Duran
Monday, December 10, 2012
Friday, July 6, 2012
Fun Friday
This punch was AMAZING … so good. Very refreshing, very crisp … perfect for a baby shower! I found the recipe on Pinterest, but here it is for y’all as well:
1 cup Countrytime Lemonade mix {or the likes}
2 cups cold water
1 can of chilled pineapple juice {46 oz}
2 cans chilled Sprite {or the likes}
Mix together and add lemon slices to make pretty … FIN.
Content Credit: http://www.froggyandthemouse.com/events/you-are-my-sunshine-a-baby-shower
Photo Centerpiece How-To... Disassemble three like-sized frames, setting aside their fronts and discarding their backings. Paint or stain wooden frames desired color; let dry. Upload or scan photographs into a computer. With editing software, make the images black and white, and resize them to fit your frames. Print them onto vellum paper with an ink-jet printer. Slip the images into the frames. Using cloth tape, hinge frames together to form a triangle. Stand frames around a candle in a protective glass holder.
Content Credit: http://www.weddingbycolor.com/soontobekelly
-Denea Duran
|
Friday, May 11, 2012
Fun Friday: Happy Mothers Day
"Being a full-time mother is one of the highest salaried jobs in my field, since the payment is pure love." ~Mildred B. Vermont
Here are a few DIY projects that everyone can make for their Mothers Day Gift. The best part about it is that it is afordable and cute!
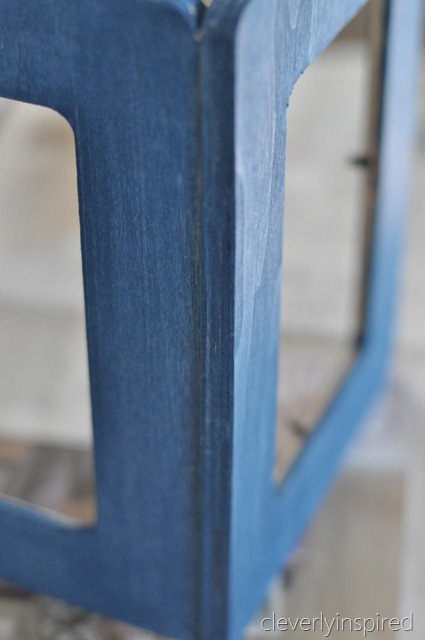
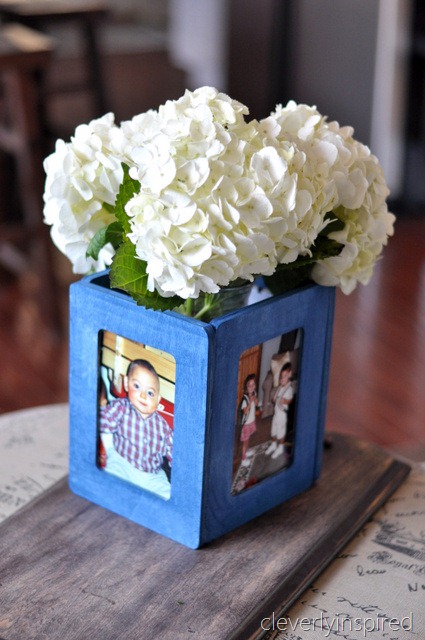
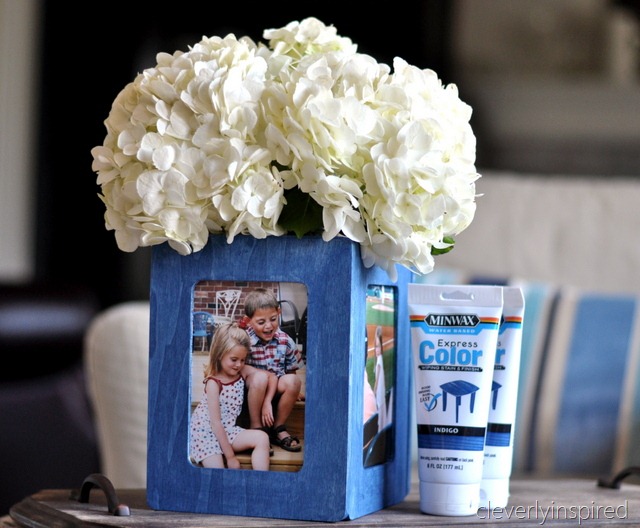
Photo Vase DIY
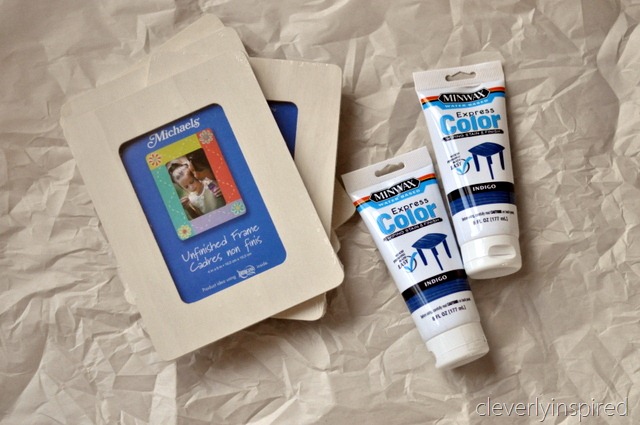
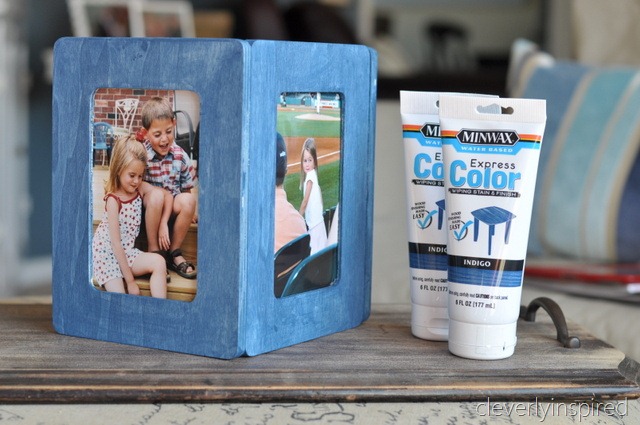
They will have several colors to chose from…just pick your favorite! I found the product to be easy to work with and quick. I love a quick transformation. A few bare wood picture frames and some wood glue is all you will need….here we go…
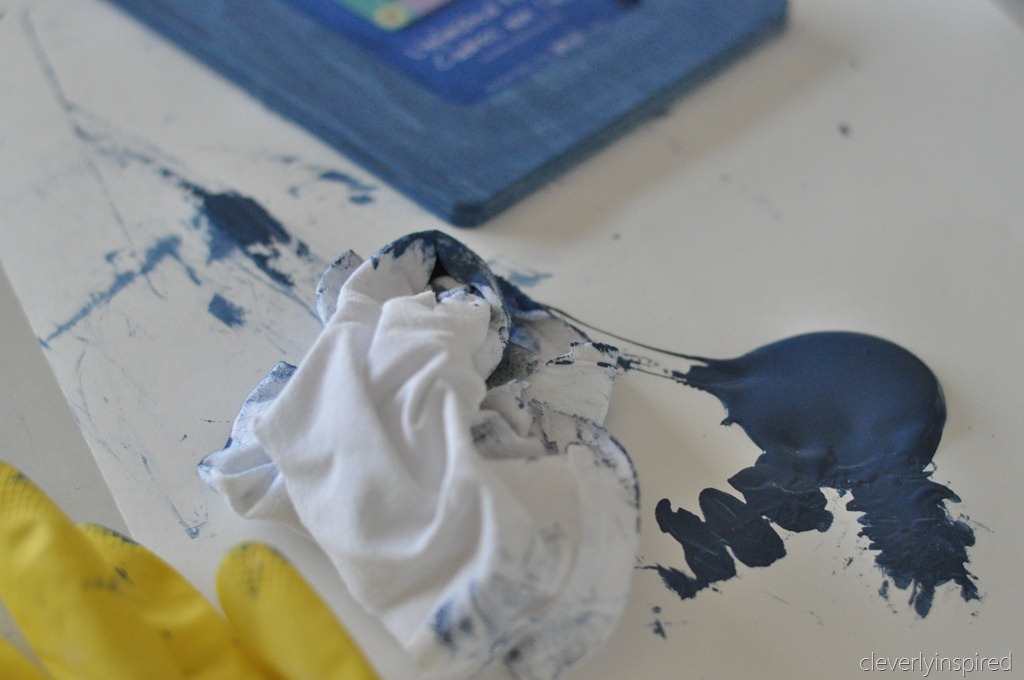
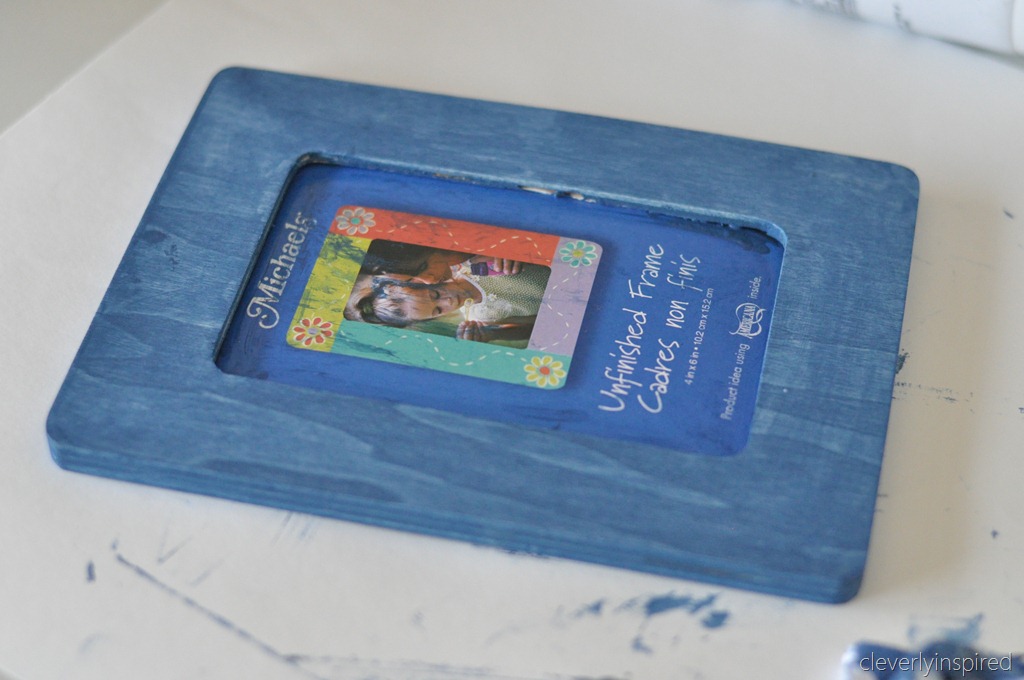
A soft cloth, rubber gloves and a work surface you don’t mind getting messy is helpful. Squirt your Color Express out and dip your cloth in the stain. Rub onto the wood…wiping off the excess. What I love about this product is the ability to have a rich color…but yet still see the grain of the wood. I found it to be smooth and even too. It is water-based…so easy cleanup! The stain also dry’s quickly. I only did one coat…but you could do a few to make the color more intense.
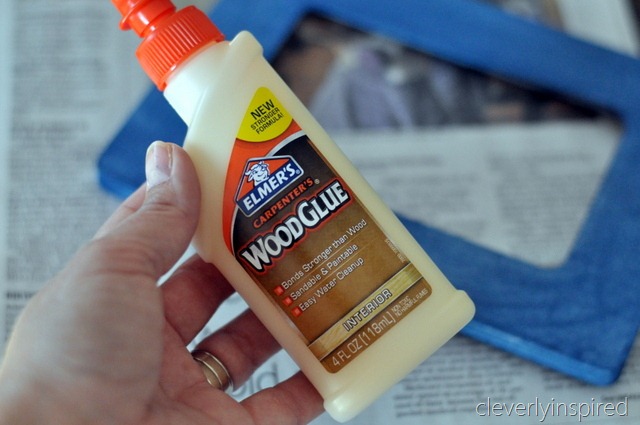
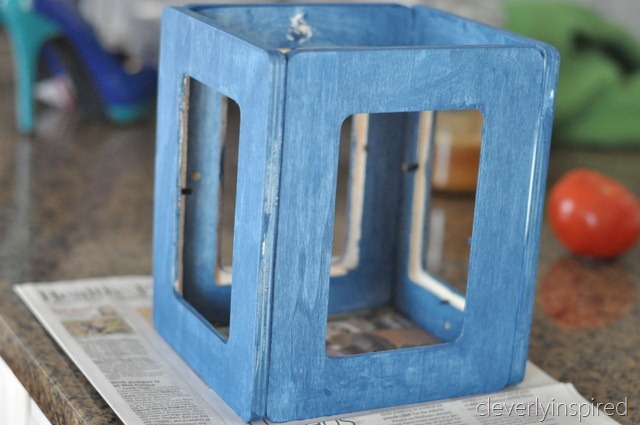
When the 4 frames are dry you can glue them together. A thin bead of wood glue does the trick.
I stood mine up on newspaper and allowed it to dry. You can touch up any spots you may have missed with a sponge brush.
I picked out four pictures (from past summers…oh their little faces…sigh…) and popped them in the frames.
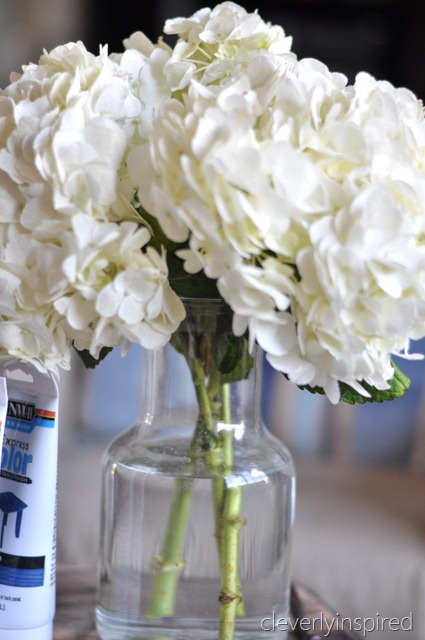
A favorite flower in a glass jar or vase…can be placed in the center.
http://cleverlyinspired.com/2012/05/diy-photo-vase-sponsored-by-minwax-express-colors/
Easy Candle Upcycle
This was such an easy project to do. I can't believe I never did this before.
All I needed to get were these wicks from Michael's and one new glass container. I decided to get a new glass container because it was only $1 and I needed something clean to pour the first candle in. Then you can start cleaning out the old ones and reusing those glass jars.
Step 1: Melt your first candle down completely. I put mine in a pot of boiling water. It only took about 5 minutes for the candle to turn to liquid.
Step 2: Place the new candle wick in your clean jar. I wrapped it around a popsicle stick so it wouldn't fall over.
Step 3: Pour melted wax into new jar. Let cool completely.
Step 4: Once the first layer of wax was completely hard, I melted the next candle down on the stove and poured it over the first layer. Repeat with one more layer or until your glass container is full.
Step 5: Cut the wick. Burn and enjoy your new candle!!
Friday, March 30, 2012
Fun Friday
Every morning I spend at least 30 minutes looking through my vanity trying to find the right makeup brush or new mascara bottle that I just purchased. Here's a few tricks to save us both 30 minutes out of our busy morning. Hope you all enjoy!

beautyriot.com
Coffee bean brush holder-
This simple project keeps your makeup brushes upright and organized. Plus, your bedroom will smell like coffee every morning. Yum.
What you need:• small, clear plastic tub (one side should be open)
• coffee beans/ small grains, etc.
Instructions:
1. Fill the clear tube with coffee beans and/ or small grains (whichever you prefer)
2. Stick your brushes into the coffee beans, brush side up.
Rake Organizer-
Sure, you can buy little hooks to hang your necklaces, but we like this rustic, shabby-chic take on jewelry organization. And it's so easy ...
What you need:
• old rake
• screw and screwdriver
• sandpaper (optional)
• Rustoleum (optional)
Instructions:
1. Unscrew the handle from the old rake.
2. If the rake is rusted, sand off the rust or cover the metal with an anti-rust spray paint like Rustoleum.
3. Drill the screw into the wall/ door of where you'd like the rake to hang.
4. Hang the rake on the screw, rake prongs down. Arrange your necklaces on the prongs.
HAPPY FRIDAY!
-Denea Duran
-Picture Content: beautyriot.com
Tuesday, March 20, 2012
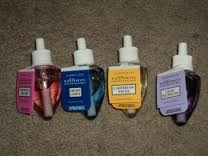
Fun Friday Live: Refill Wallflowers DIY
Streaming live video by Ustream
We have not forgotten about Fun Friday, we just took it to another level. We are now doing Do It Yourself (DIY) projects live on our Ustream page. This week was DIY: Refill Wallflowers.
Did you know that the Wallflowers and Plug-Ins that you buy could be hazardous to your health and your home?
The National Resources Defense Council, in a study of 14 different air fresheners, confirms that phthalates a chemical found in many air fresheners that may cause reproductive problems and birth defects. It was found that Phthalates may also cause premature delivery of babies.
Fire Hazard- Pinene, an extremely flammable ingredient is commonly used in plug-in air fresheners. Plug-in air fresheners use a small heating element, which combined with flammable ingredients like the pinene can be a fire hazard. It is important that over 53,000 home fires occur each year because of malfunction of electrical appliances, including plug-in air fresheners.
Toxic Ingredients- Toxic ingredients such as formaldehyde, fragrance chemicals and dichlorobenzene and silica are used in a variety of plug in air freshners brands. These ingredients are highly dangerous if ingested accidentally, causing issues such as dizziness, nausea a drop in blood pressure and convulsions.
Everyone has the right to know what toxic chemicals they are breathing in. We decided to do a simple and healthier DIY project, so those expensive wallflowers dont go to waist. (video above)
-Denea Duran
Photocredit: Google Images
Tuesday, October 11, 2011
There! I Fixed It!
Cayce/West Columbia and Lexington
1831 Pine St.
West Columbia, SC 29170
803-755-9774
Lovely photos brought to you by thereifixedit.com
Sandy Hayden
Friday, August 26, 2011
Fun Friday!
It's our fourth Fun Friday today and it's time for a little inspiration! Check out some ideas that will make an impact on your house and not your wallet. "Reduce, reuse," my friends.
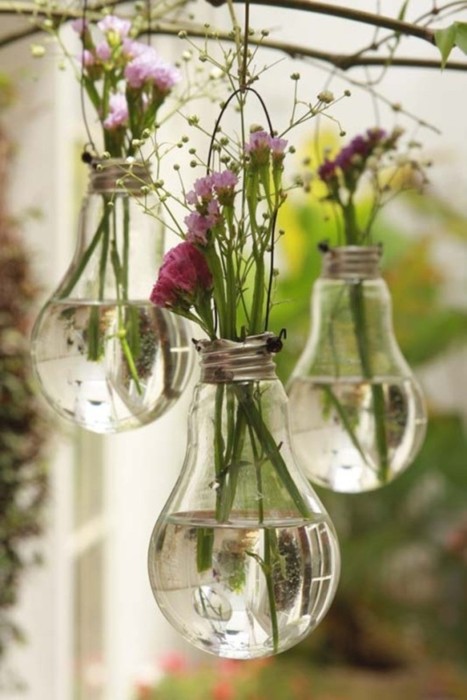
Wait before you throw those light bulbs out. For a romantic green house feel, try using them for hanging plants or vases.
On your next Saturday morning thrift trip, snatch yourself an old window for a great conversation piece as well as a handsome way to display photos or artwork. You can hang it on the wall or go a step further and make it a table surface. Get creative!
Wood needs a little help? Before shelling out for an expensive product, try shelling a walnut instead.
Wooden cable spool + wheels = brilliance.
Scrap wood? More like chic headboard. A touch of ingenuity (and paint) goes a long way.
Any other cheap n' chic ideas? Submit them in the reply box below! Happy, happy Friday!
Credits: A Well Traveled Woman, Everyday Ebullience, Carrie Leber: the blog, Poppytalk, DIY Ideas, and Apartment Therapy.
Sandy Hayden